Road bike maintenance routine
With the proper maintenance of your racing bike you can prevent expensive repairs, cycle faster and get on the bike more safely. Enough reasons to make this short routine part of your favorite sport: cycling! In this blog we explain how you can easily extend the life of your parts in five short steps.

Step 1 - Clean the drivetrain (not too much oil!)
By keeping your chain, crank and cassette clean, you extend the life of these parts considerably. What you often see in novice cyclists is that they have an abundantly oiled chain. Too much oil on the chain is actually good for nothing and causes sand, dirt and mud to stick to your chain. This in turn creates extra friction between the links and gears, causing them to wear out faster. To begin with, it is therefore important that you do not use too much oil. In addition, it is important that you rub the chain with a cloth after every ride. This removes loose dirt from the chain. With a special cassette brush you can remove all the loose dirt between the gears. After cleaning the chain with the cloth and brush, most loose dirt should be gone.
Step 2 - Check for play
While cycling, some parts may vibrate loose. Avoid unnecessary maintenance by checking the clearance between parts. The most important parts are the crankset and the headset. You can check the crankset by moving the bottom bracket arm back and forth in the direction of the frame. Do you feel that there is play here? Then the crank must be tightened, which is only two minutes' work at the bicycle repair shop. Then check the headset by placing the front wheel between your legs and moving the handlebars at the same time. Do you feel there is slack? Then tighten the bolt on top of your handlebars.
Step 3 - Check your brakes
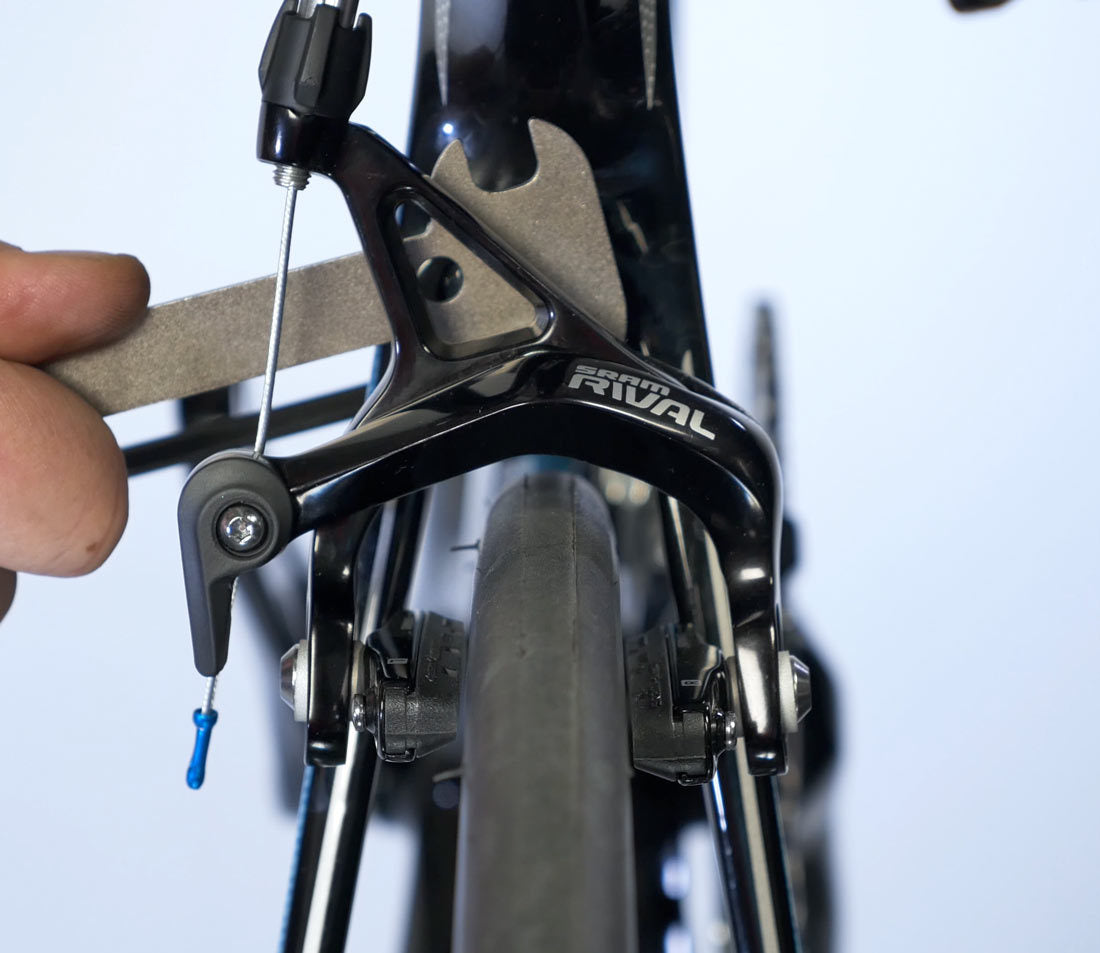
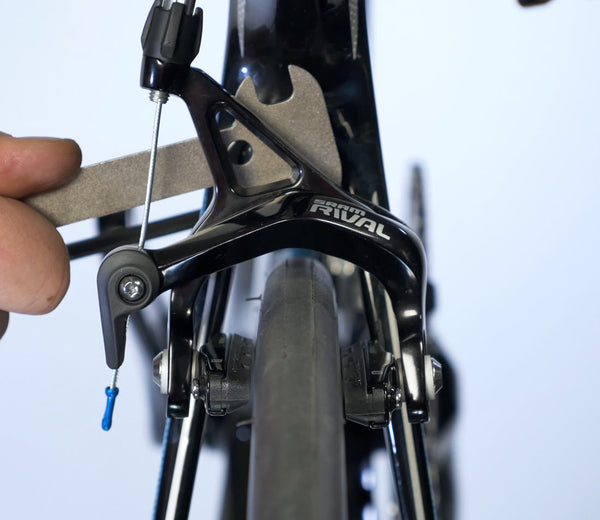
Check whether the brake pads are still straight on the rim and whether the notches in the pads are still clearly visible. It is also useful to check whether the brake cable is still in good condition. Is the end not frayed? The tension on the brake cable must also be sufficient to stop quickly. You can often increase the tension by turning the bolt at the caliper counterclockwise.
Step 4 - Pay attention to strange noises
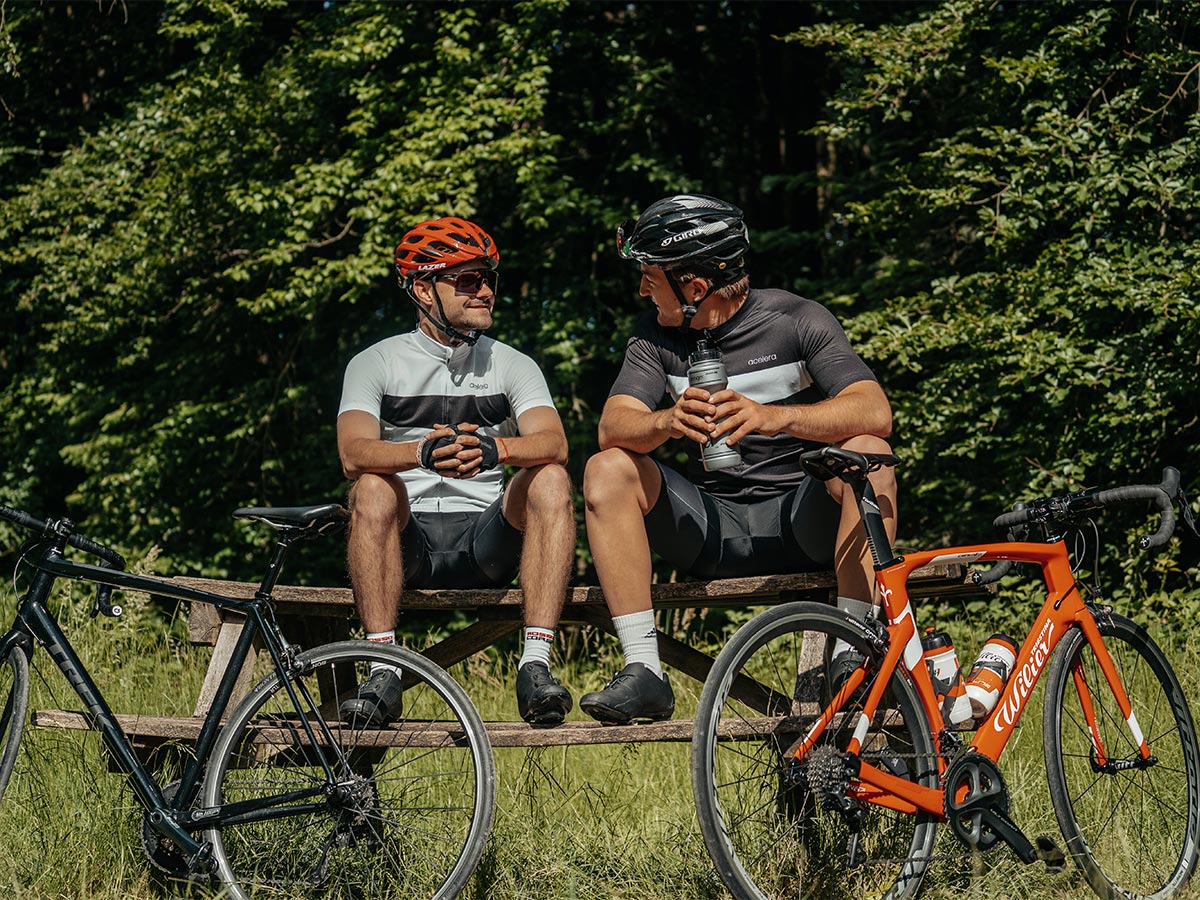
If your bike creaks or makes noise, your bike is often trying to say something. Hoping very hard that the sound will pass by itself is often not the best solution. To prevent worse, it is advisable to find out what causes the noise. Ask a cycling friend to ride next to you to locate the sound. Then you can look for a solution.
Step 5 - Check your equipment
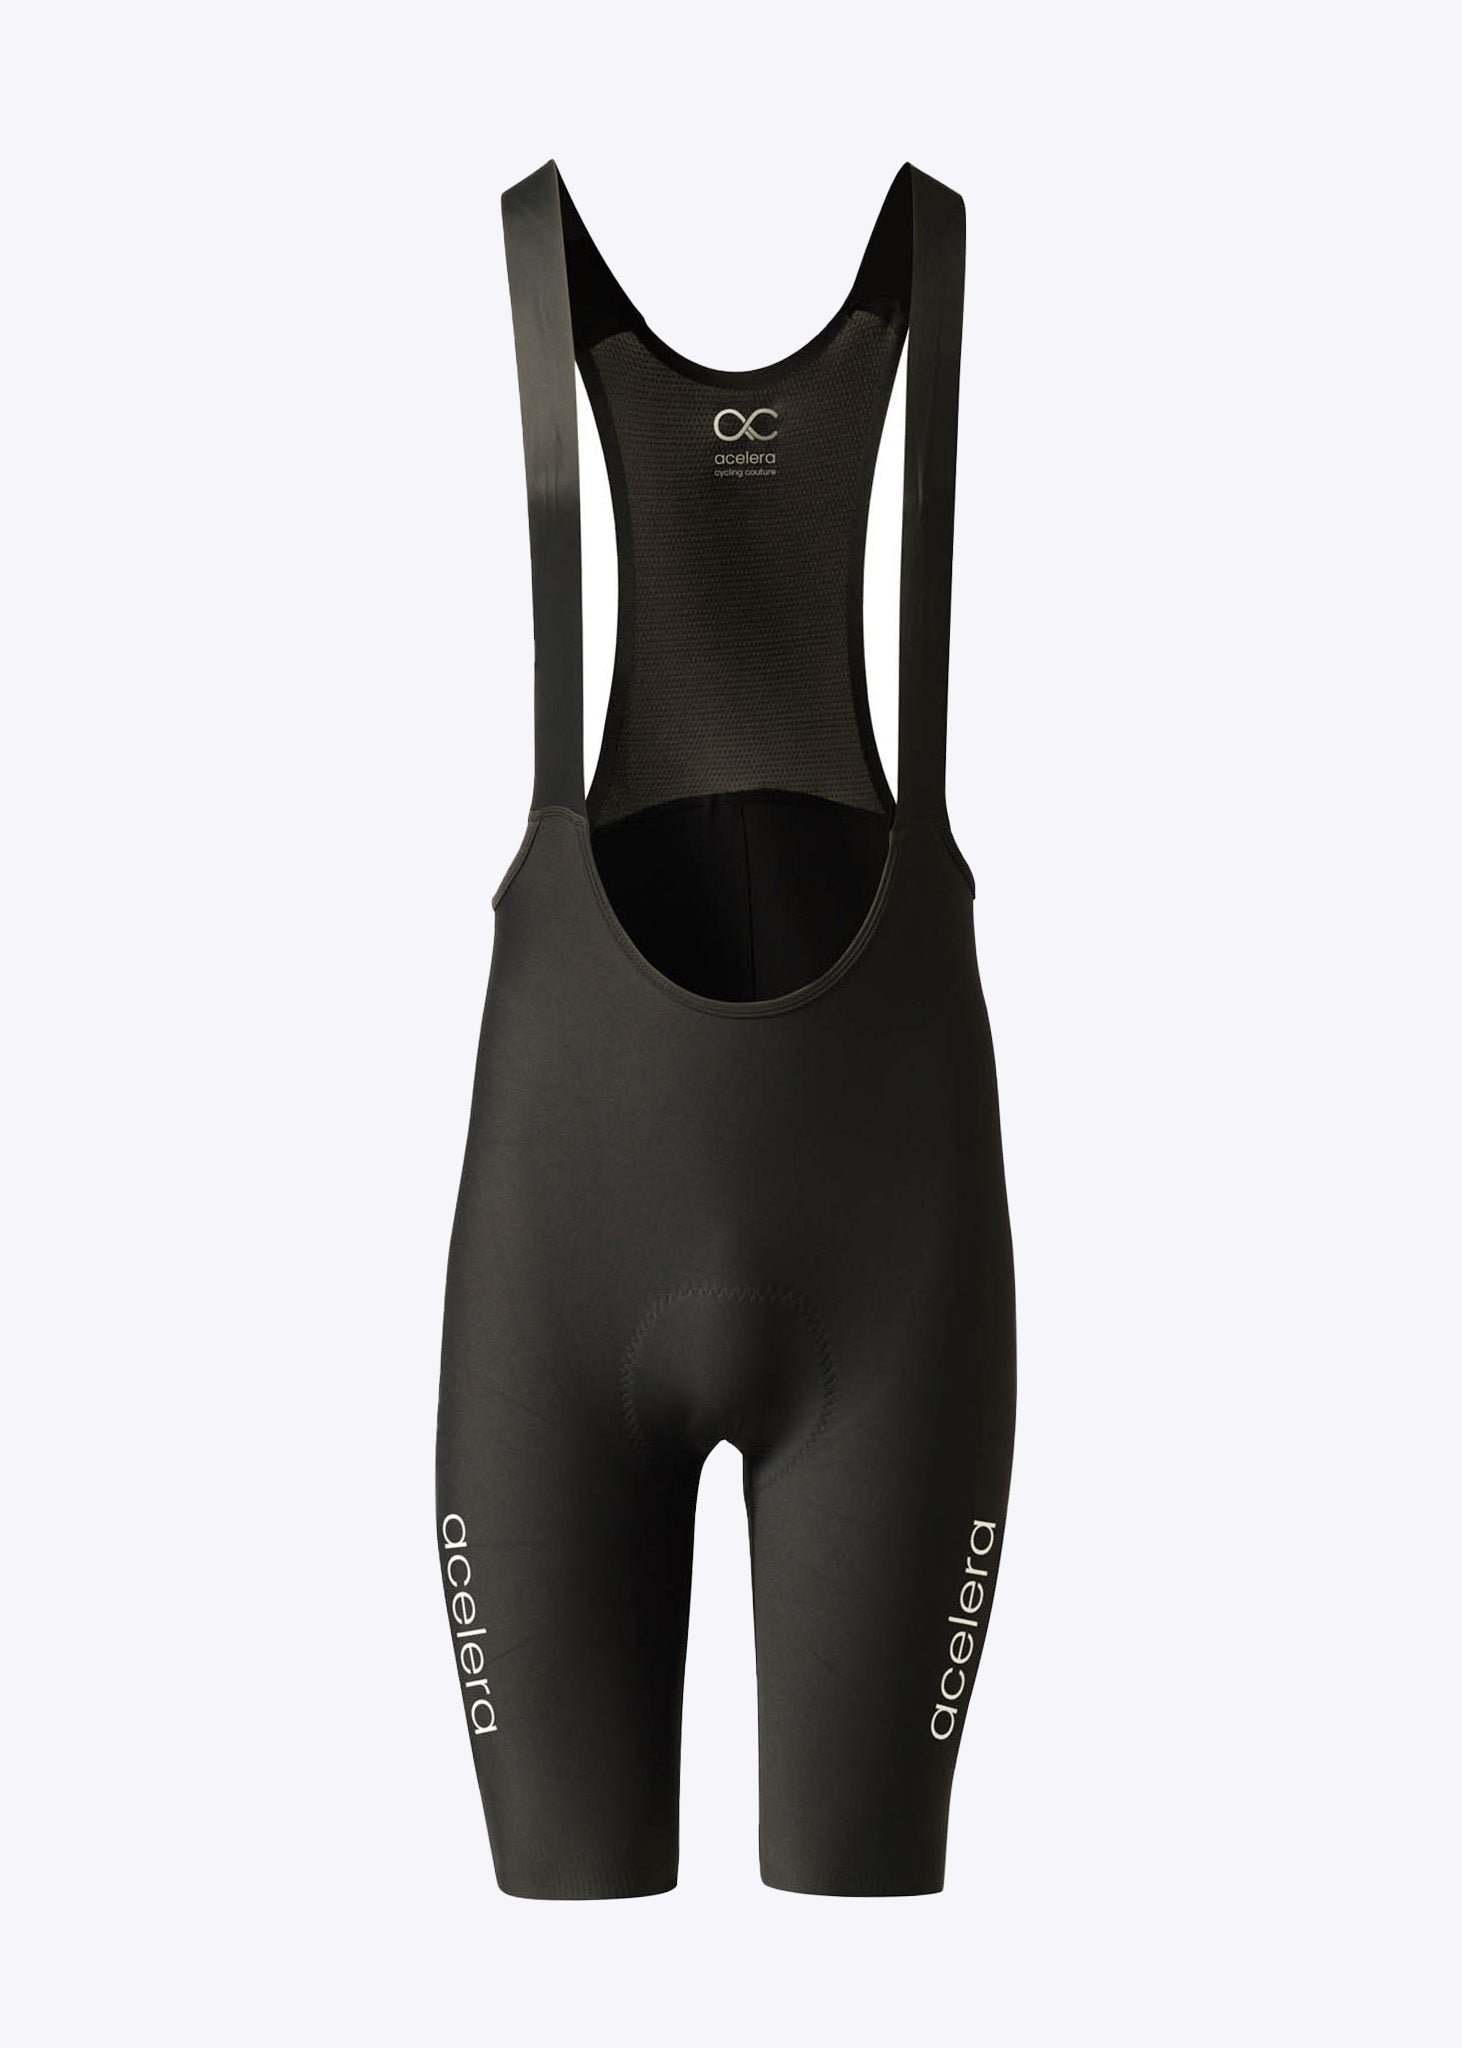
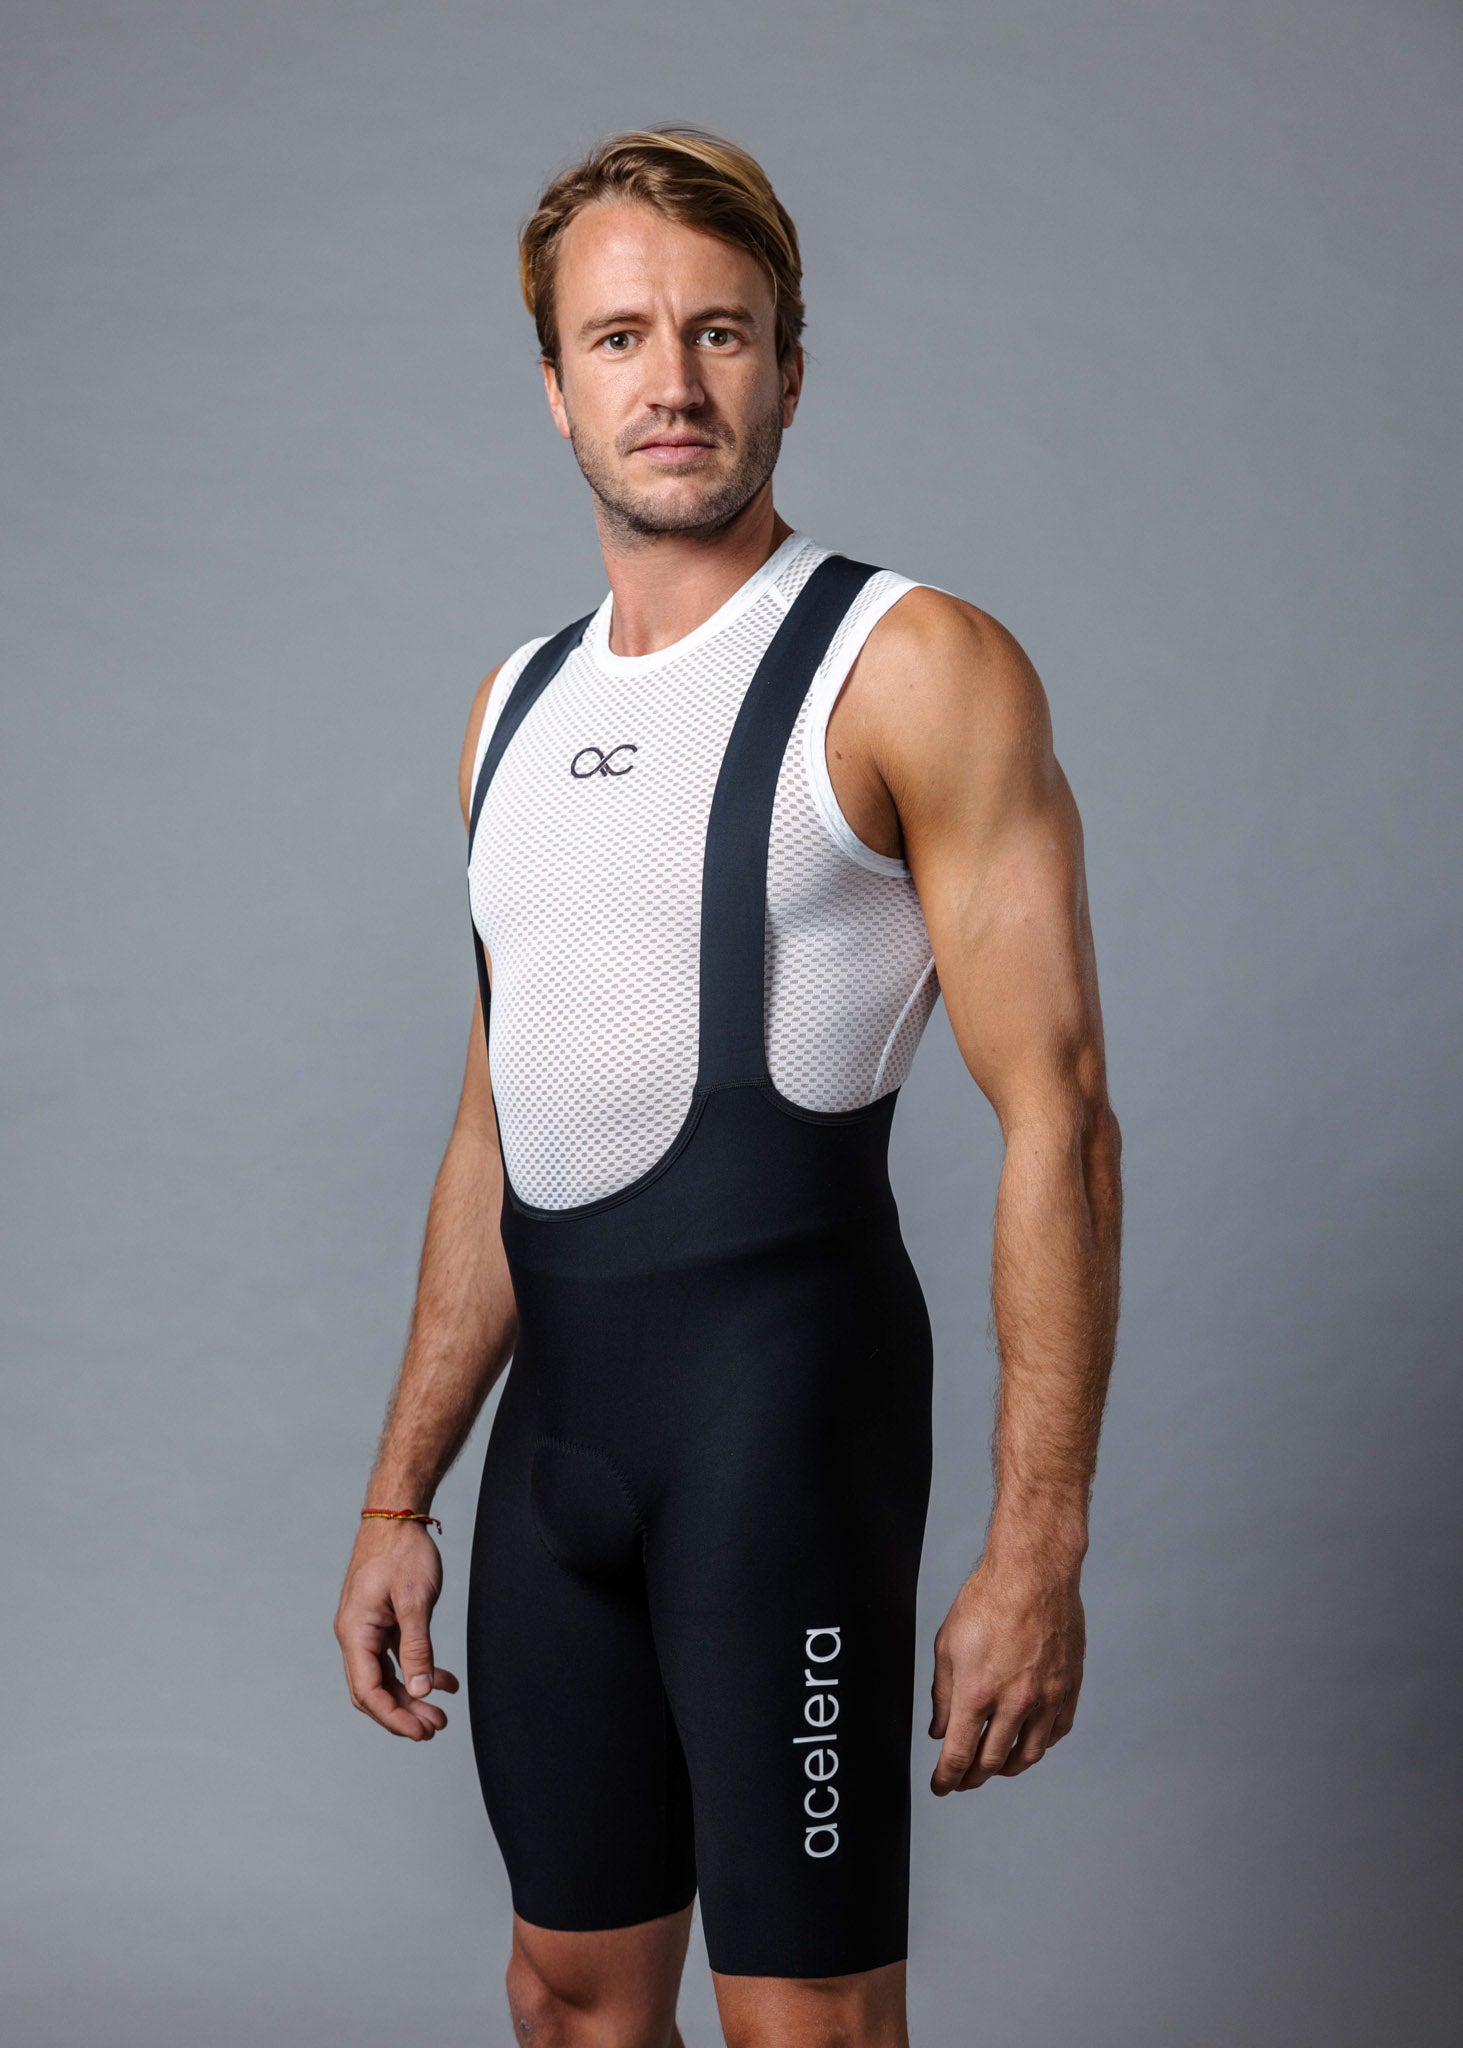
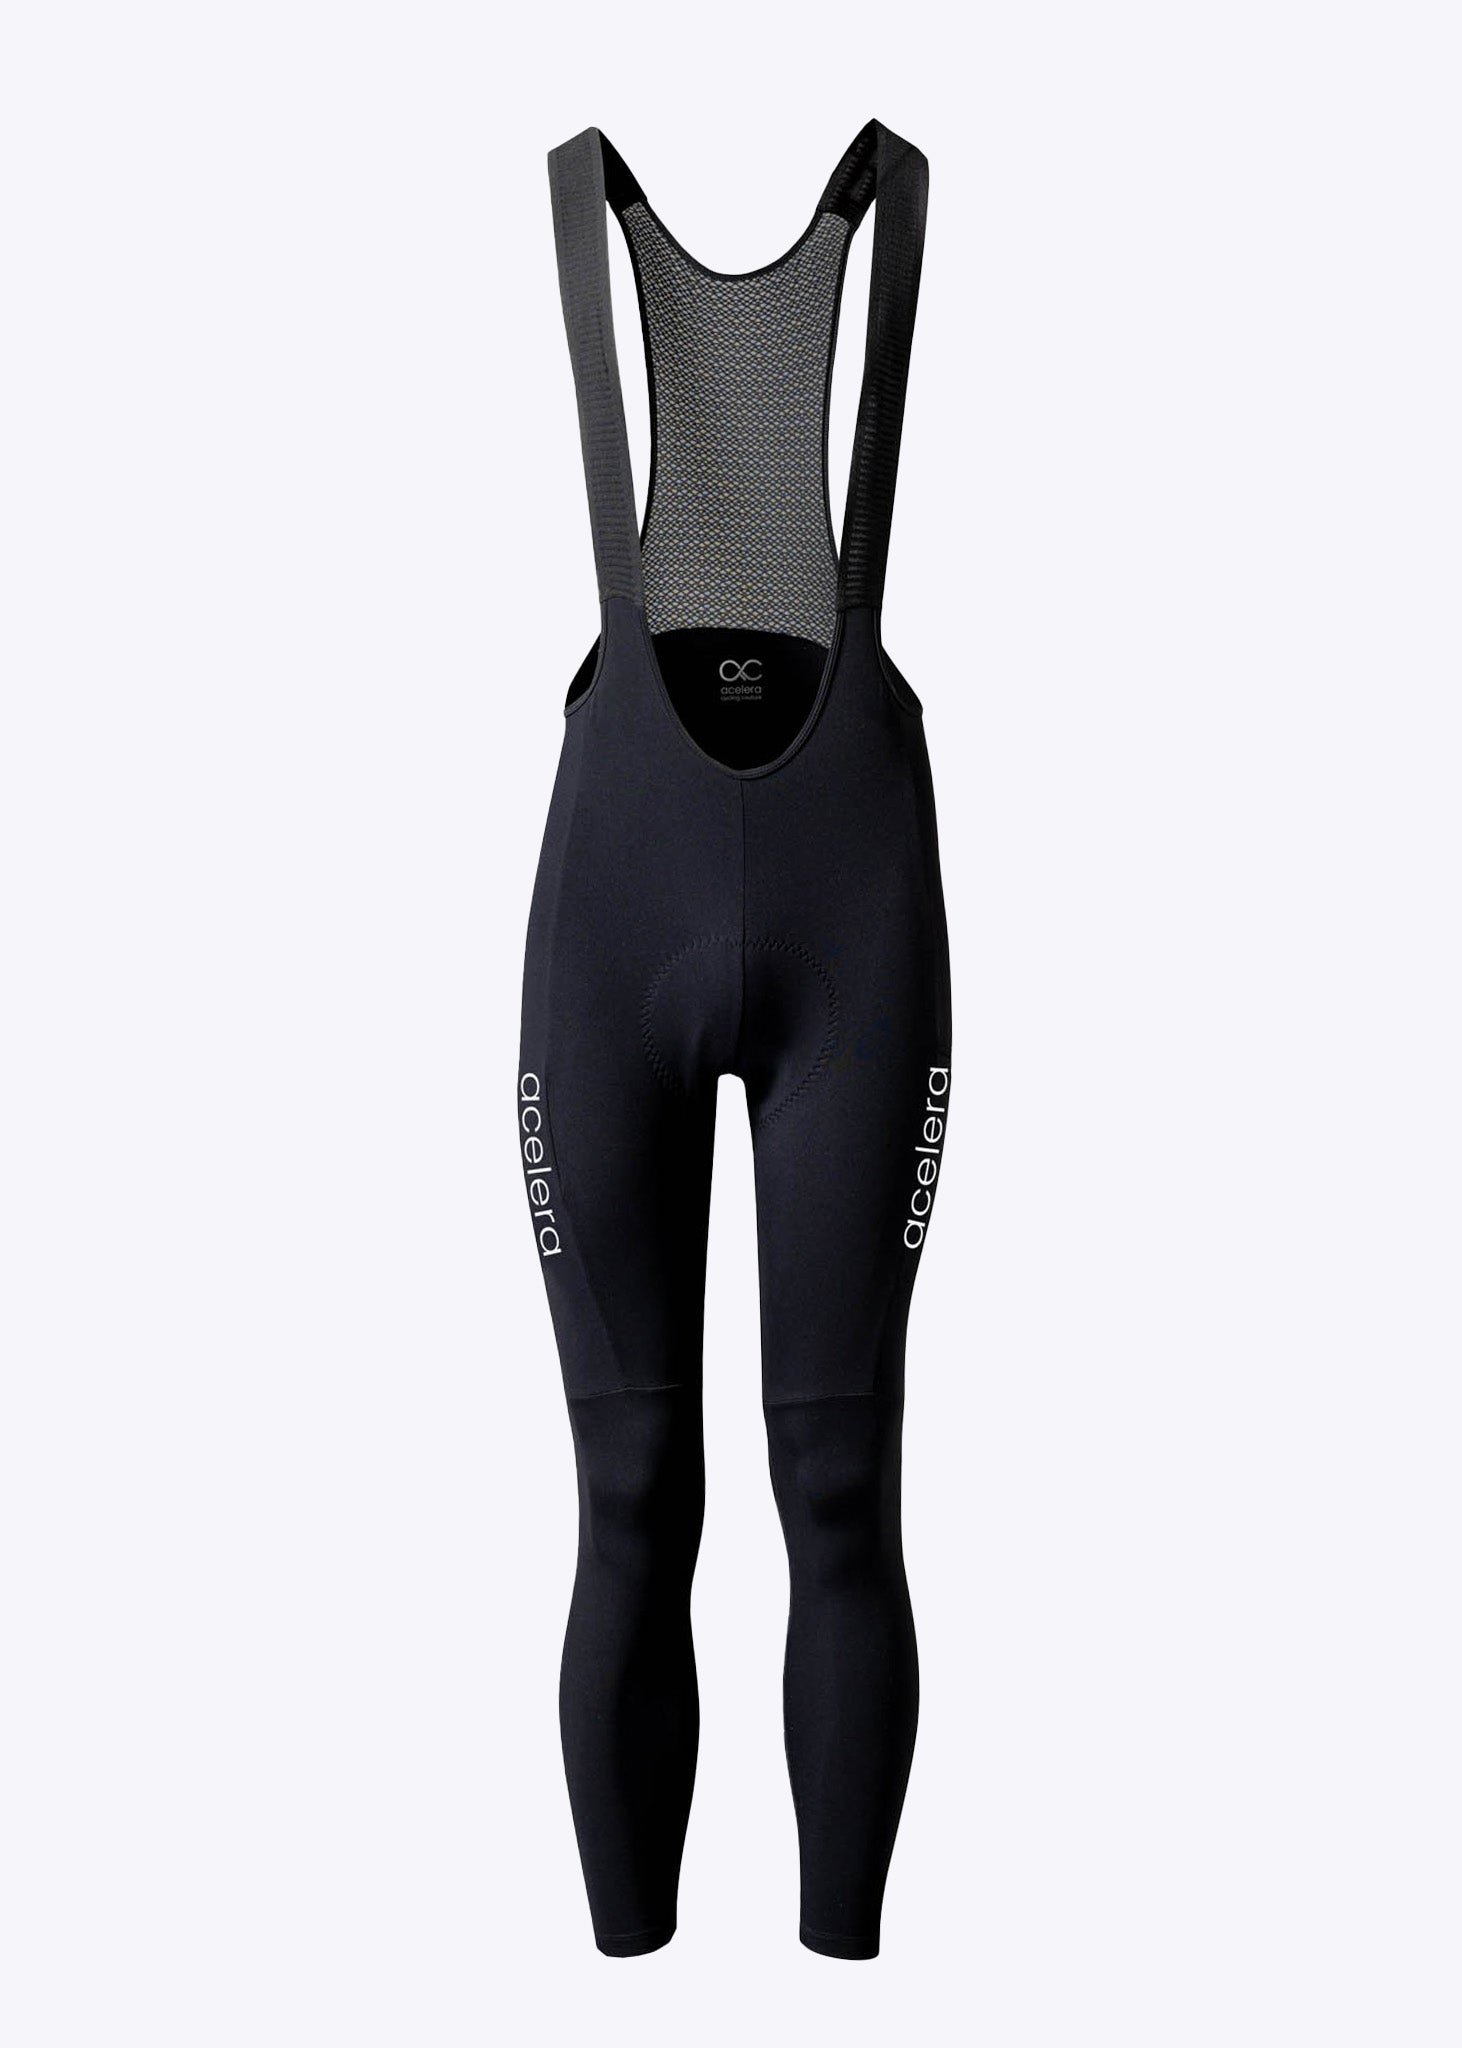
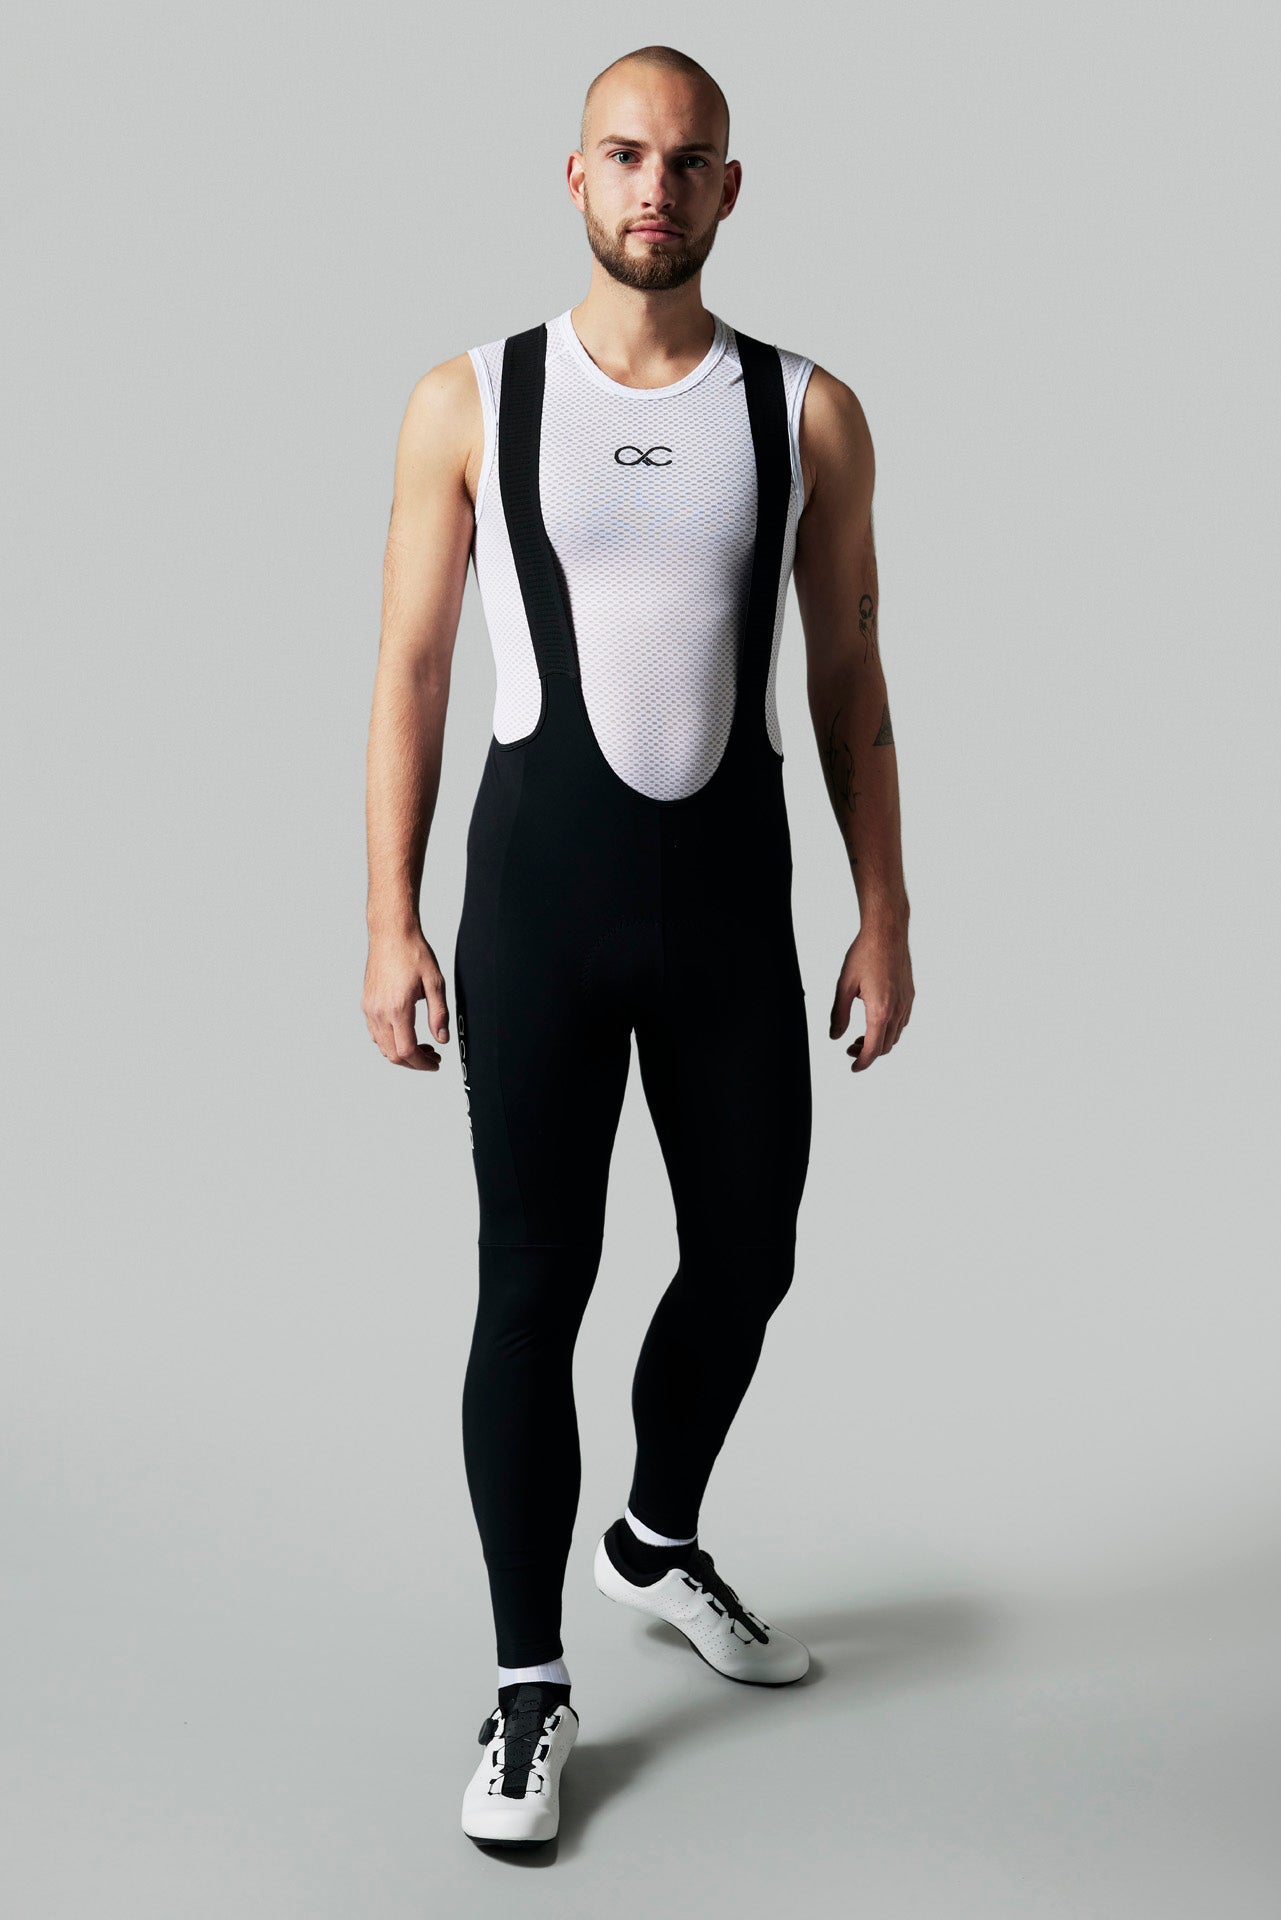
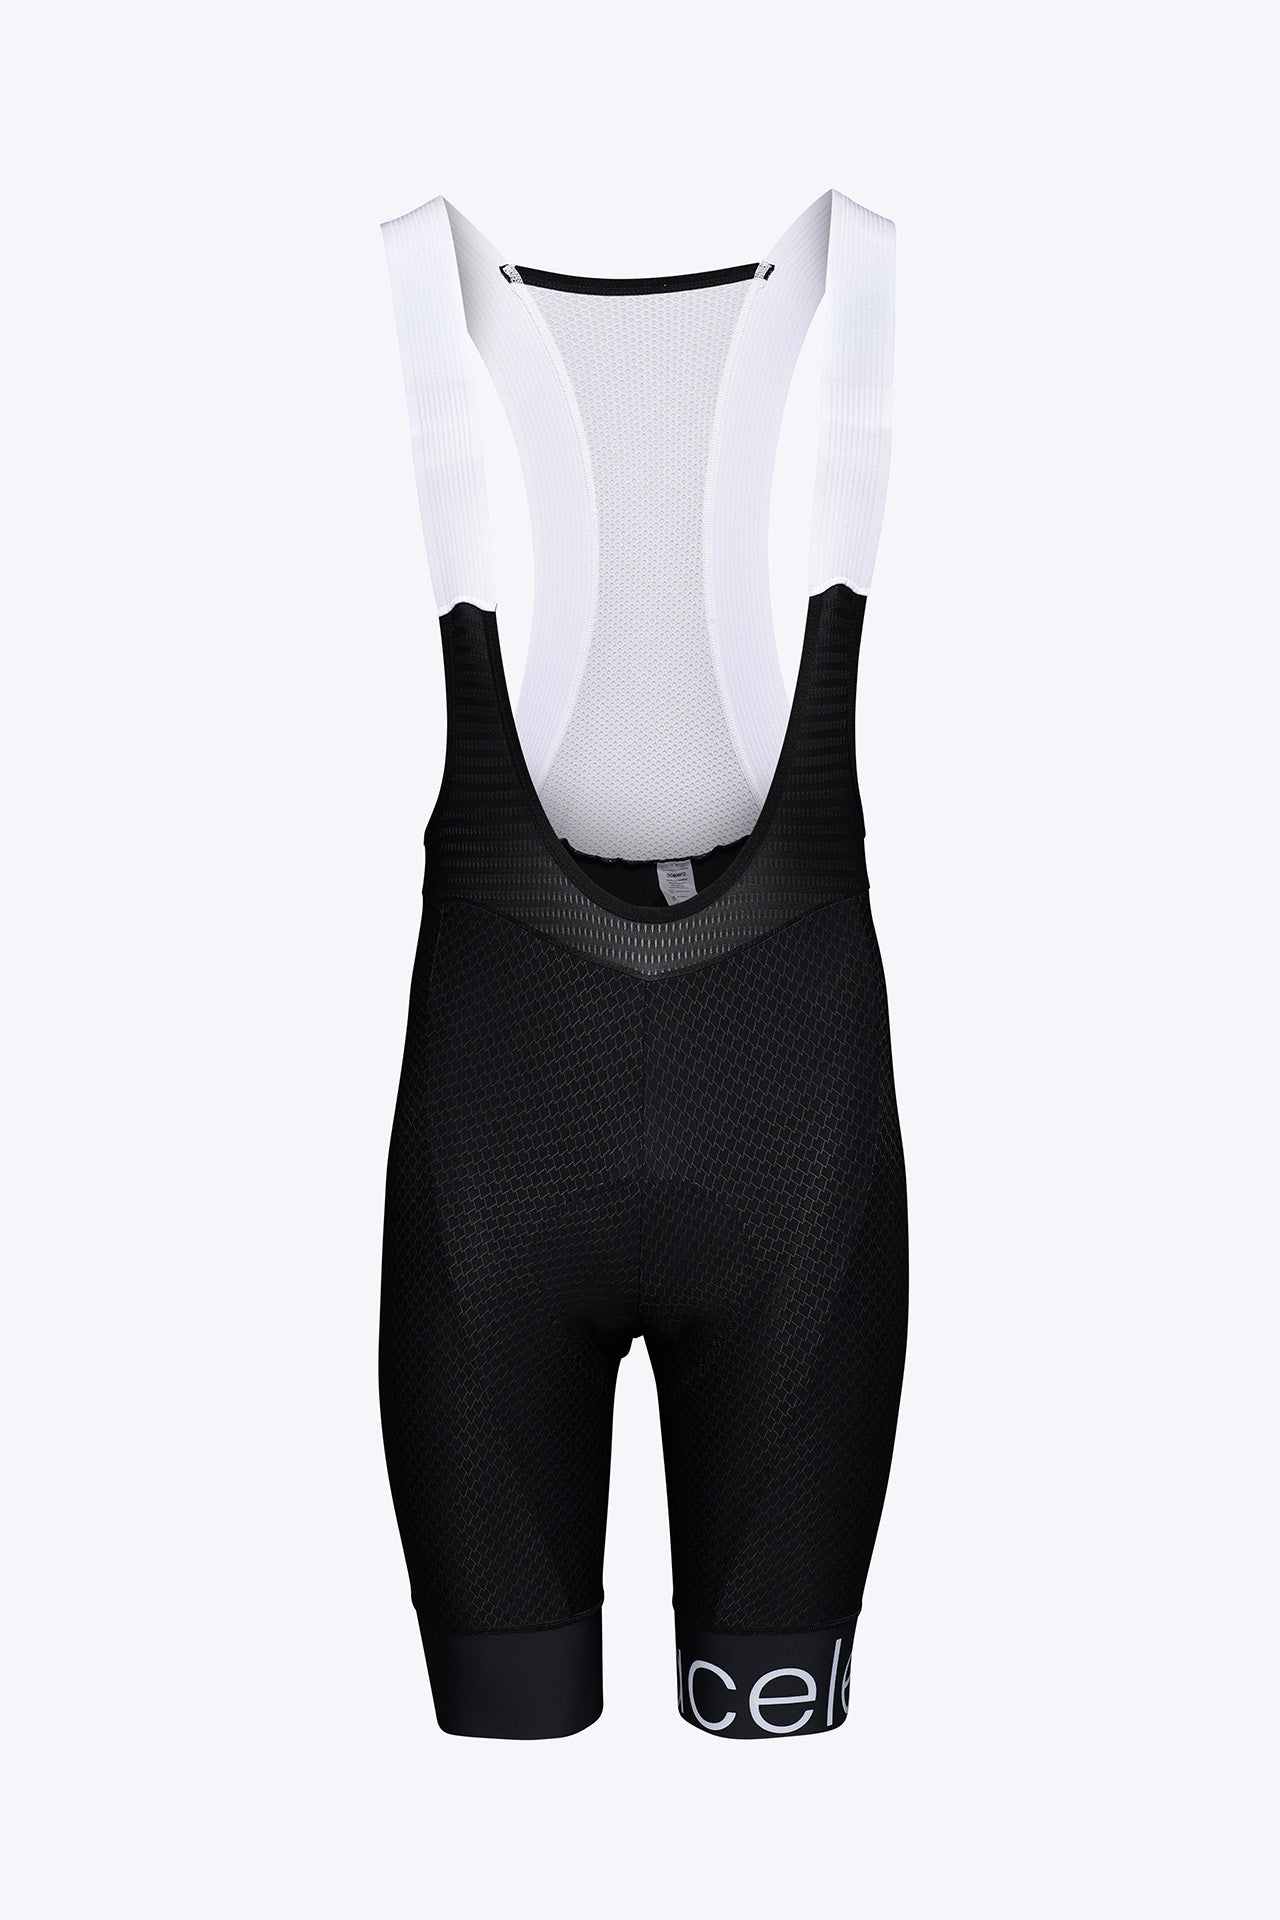
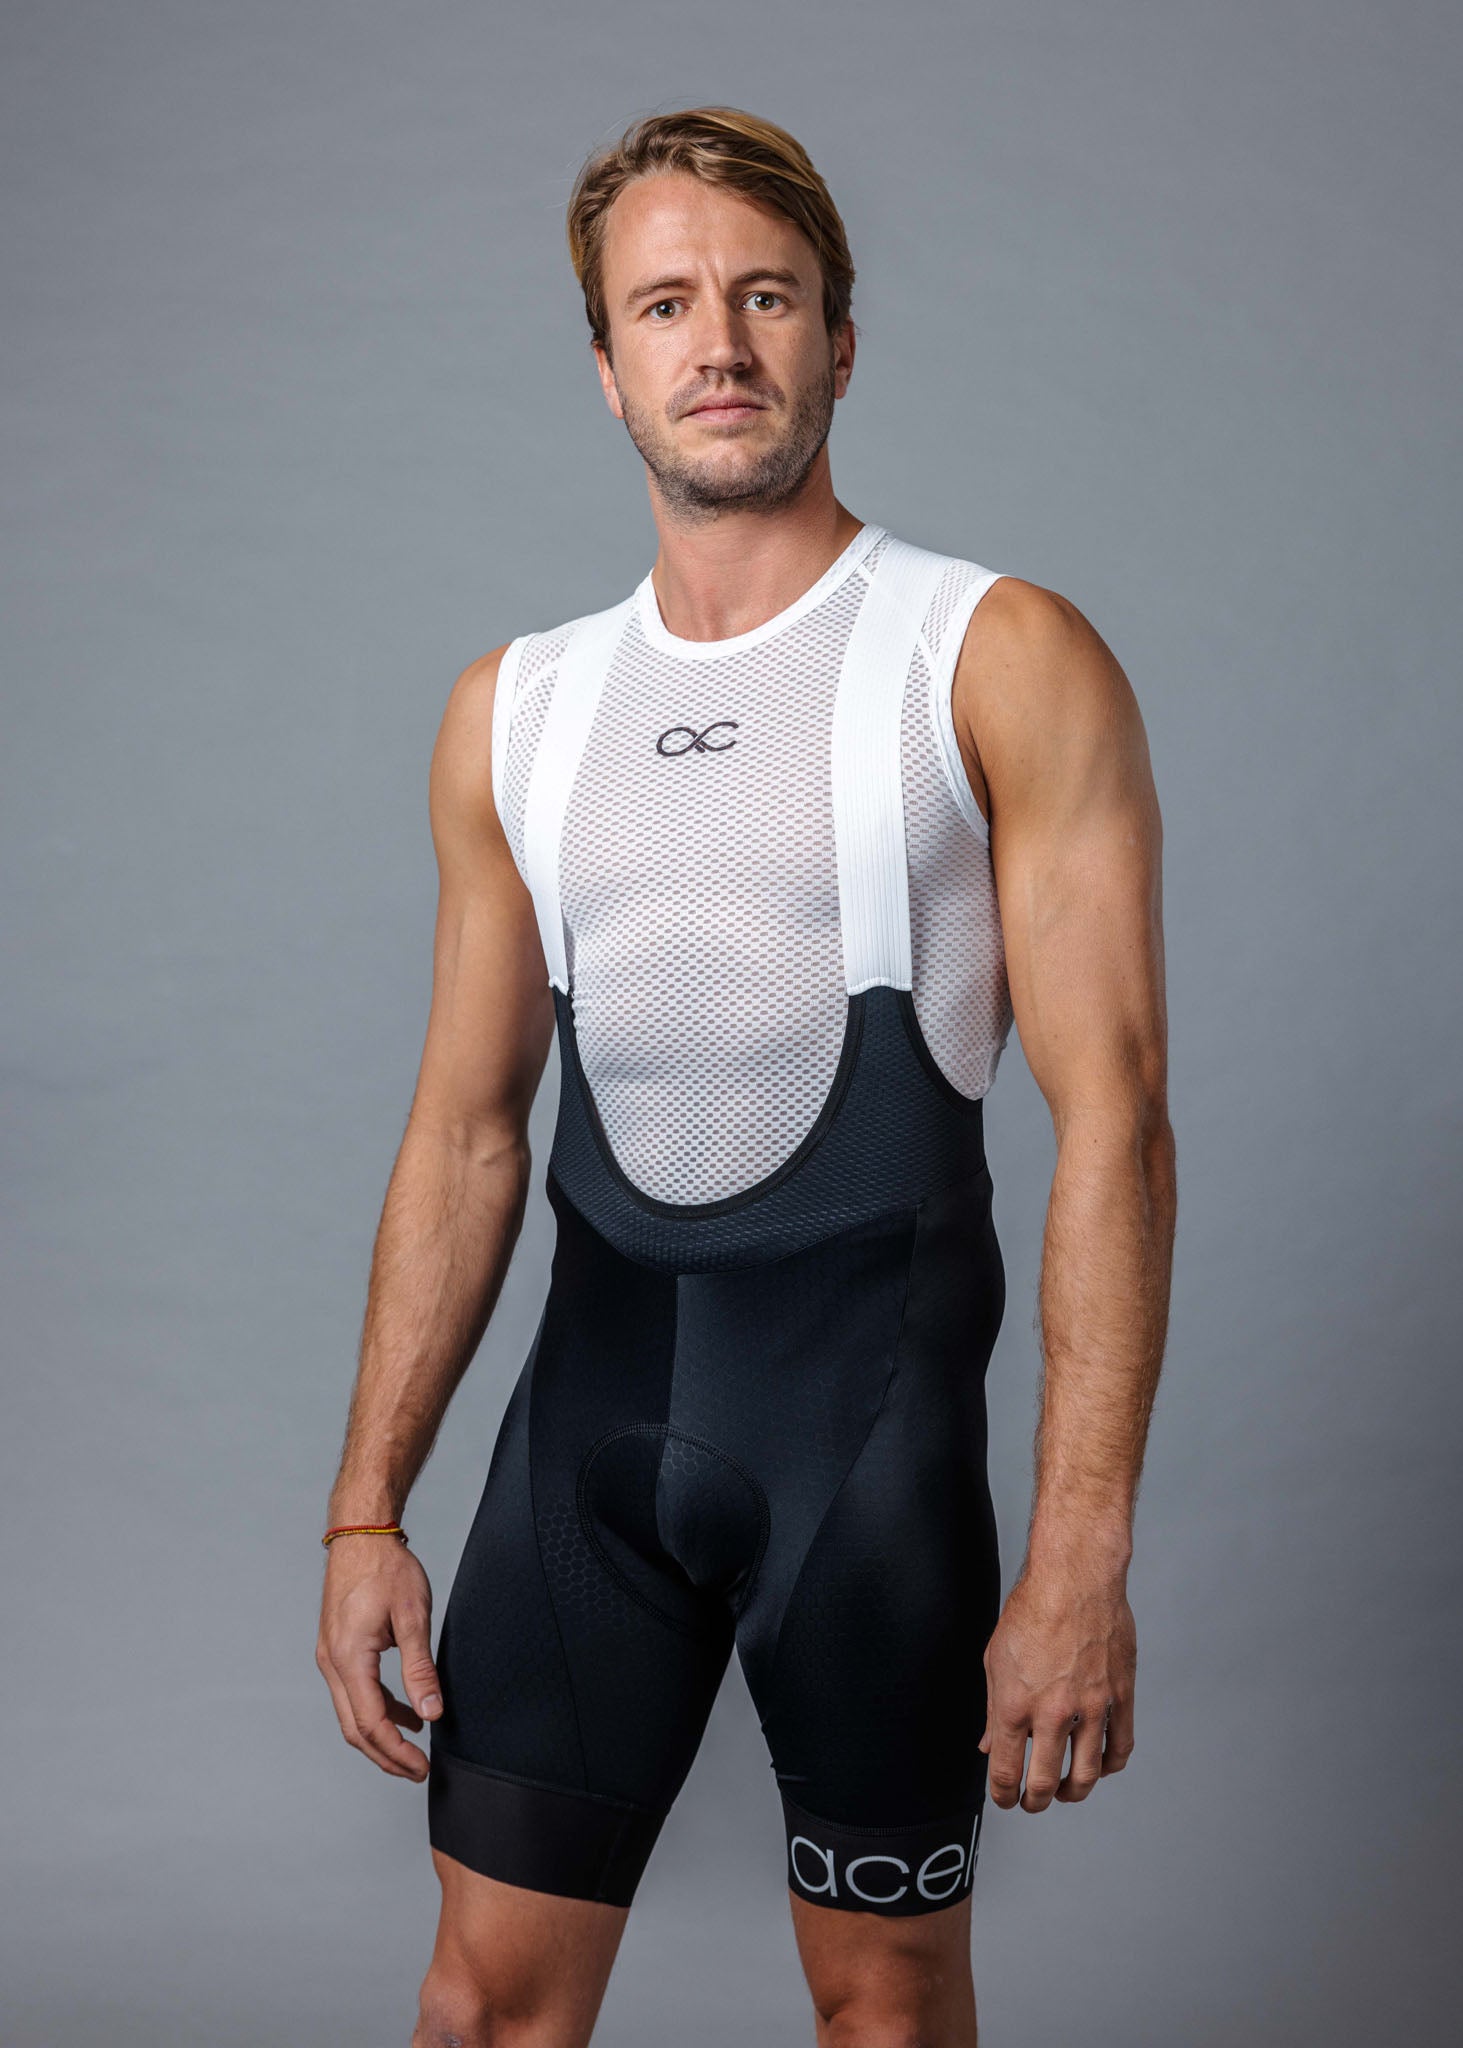
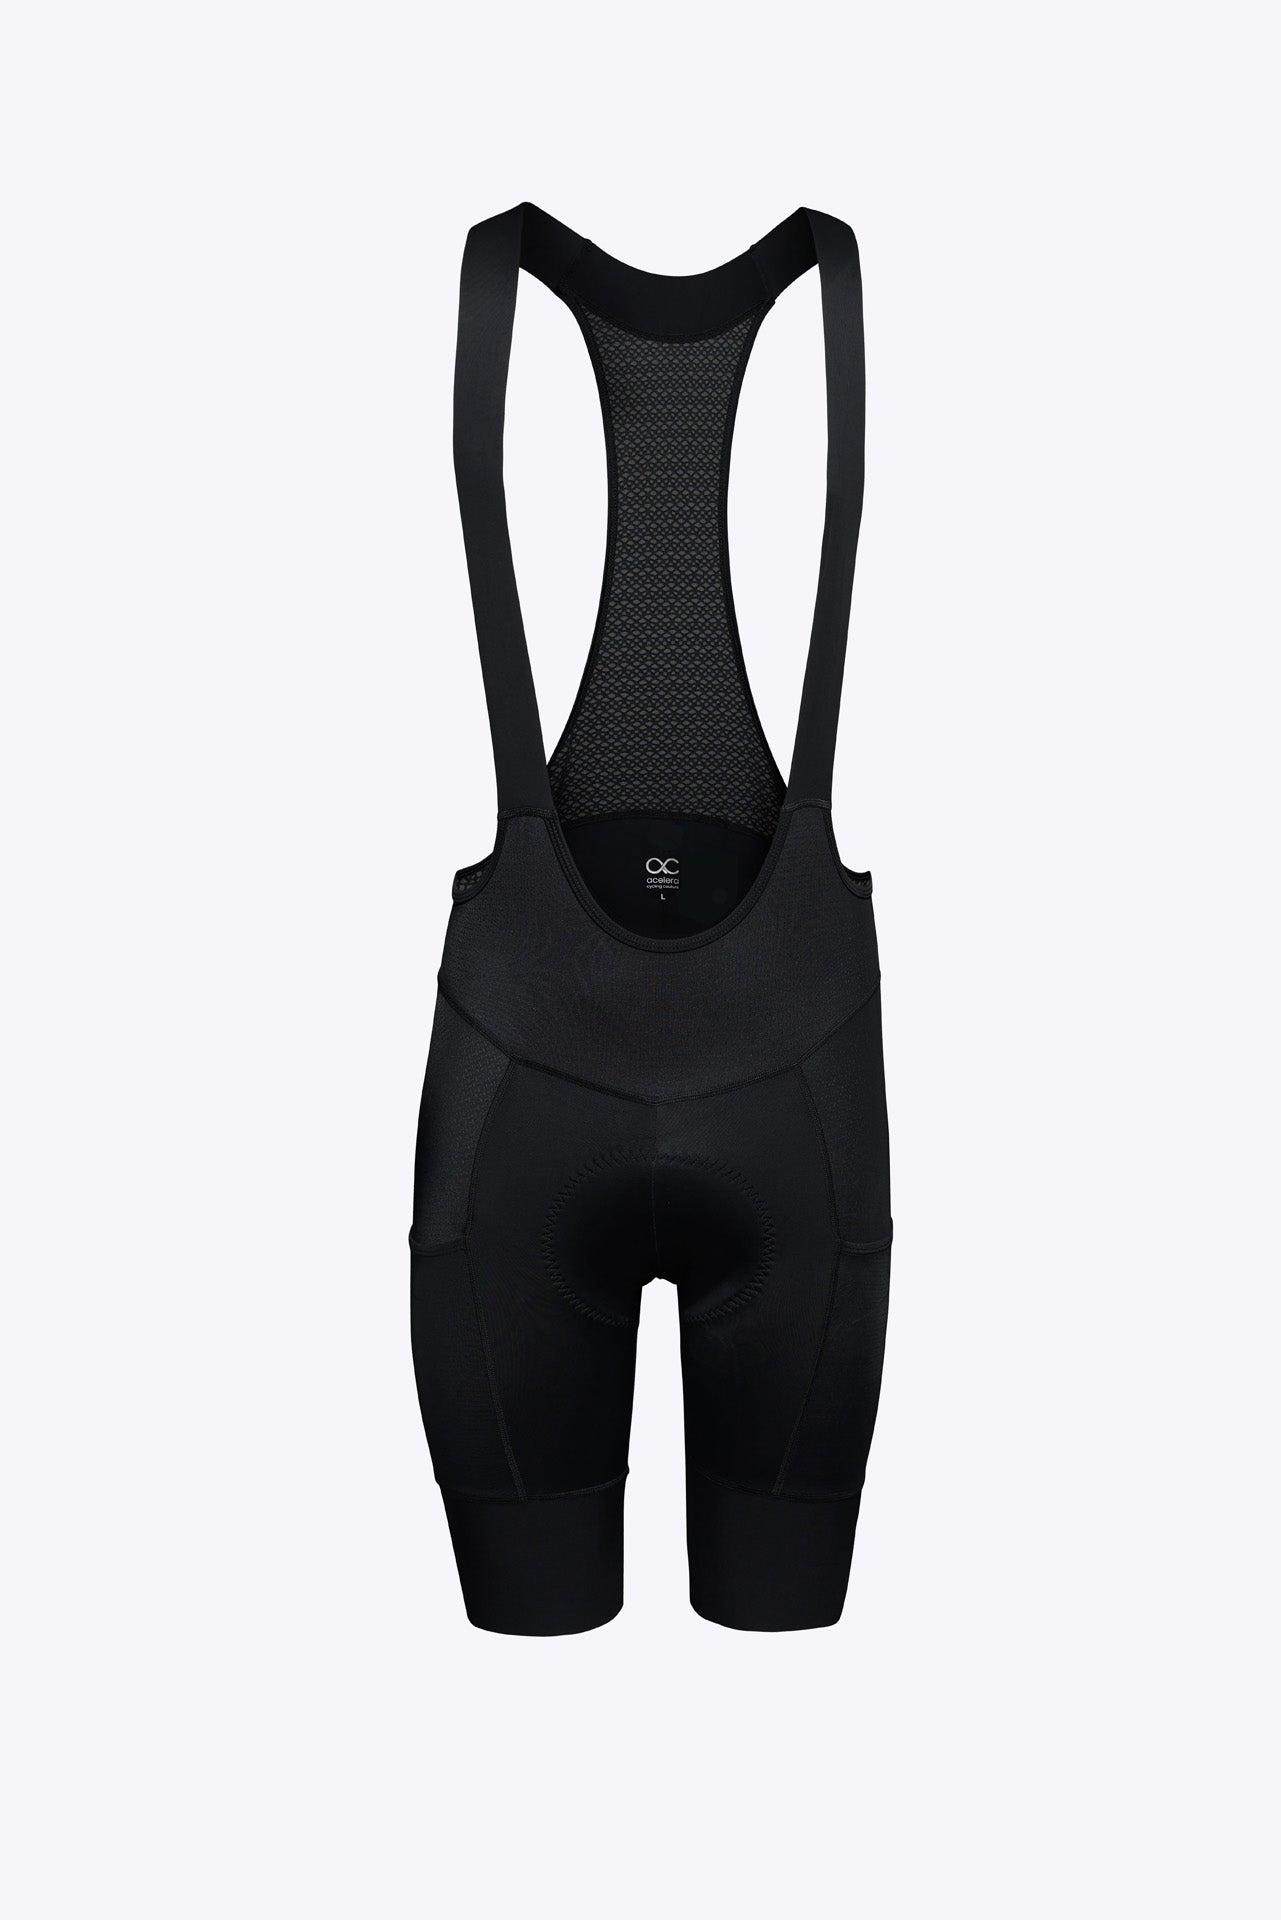
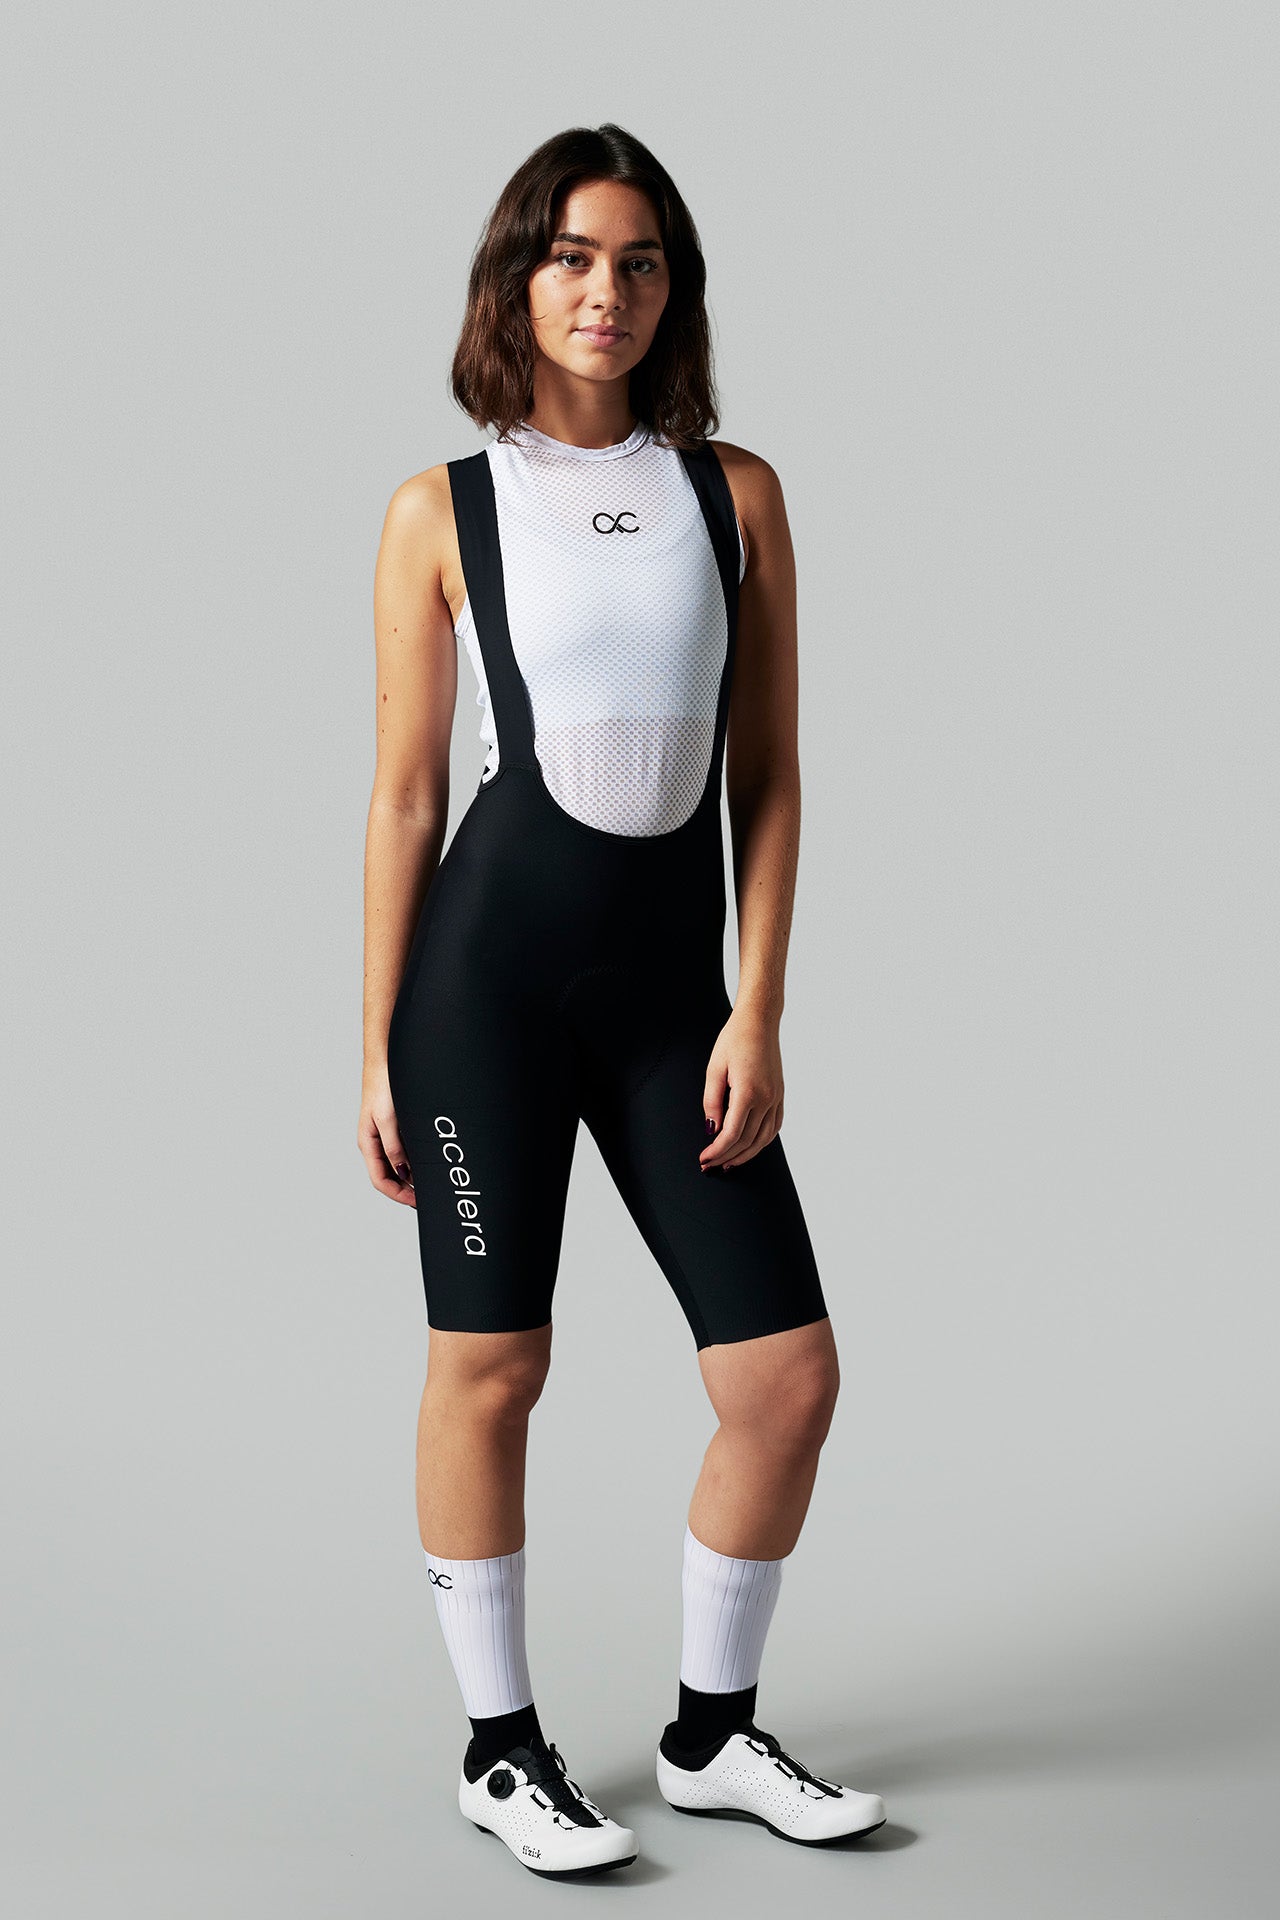
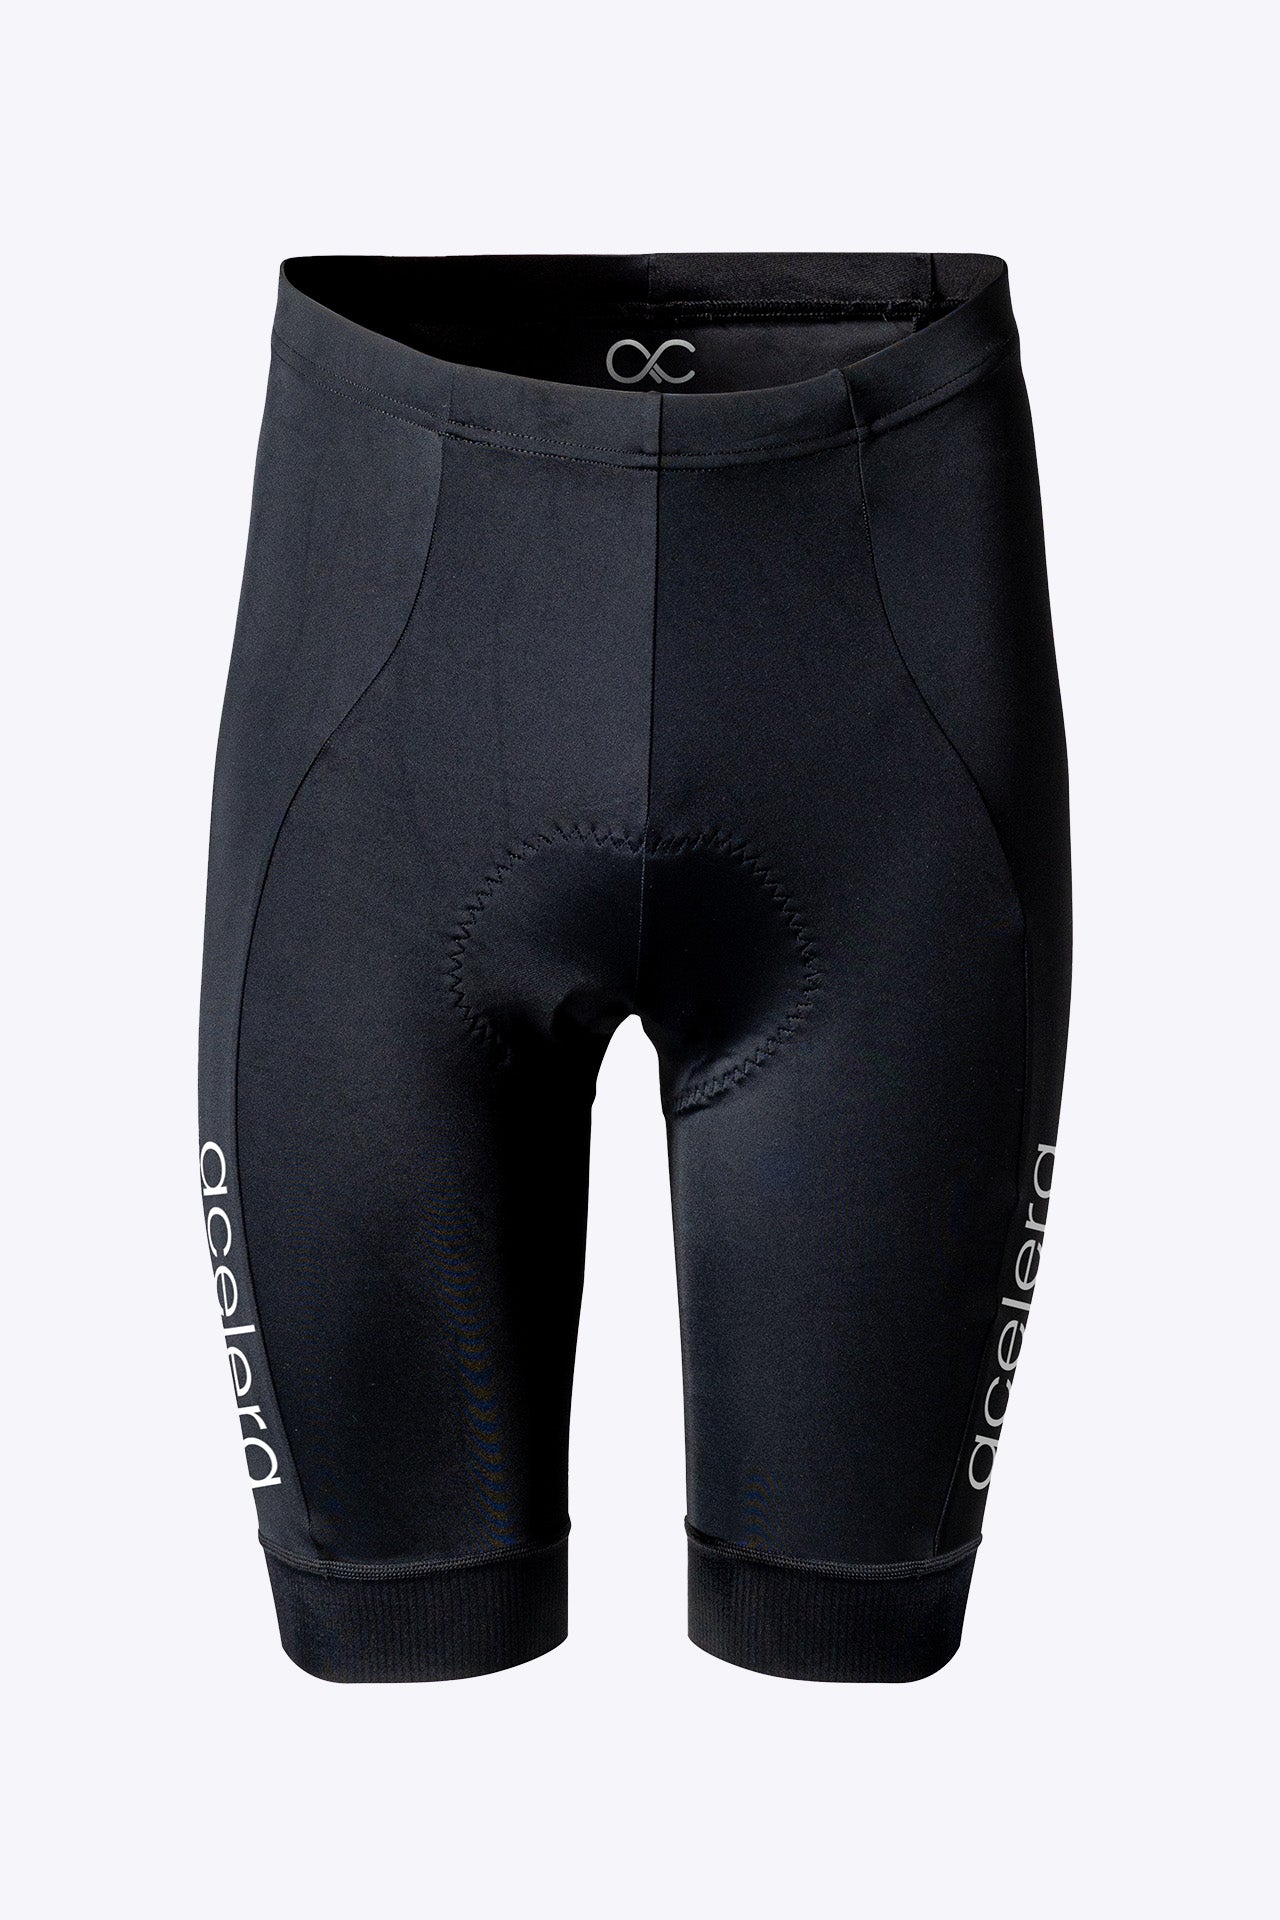
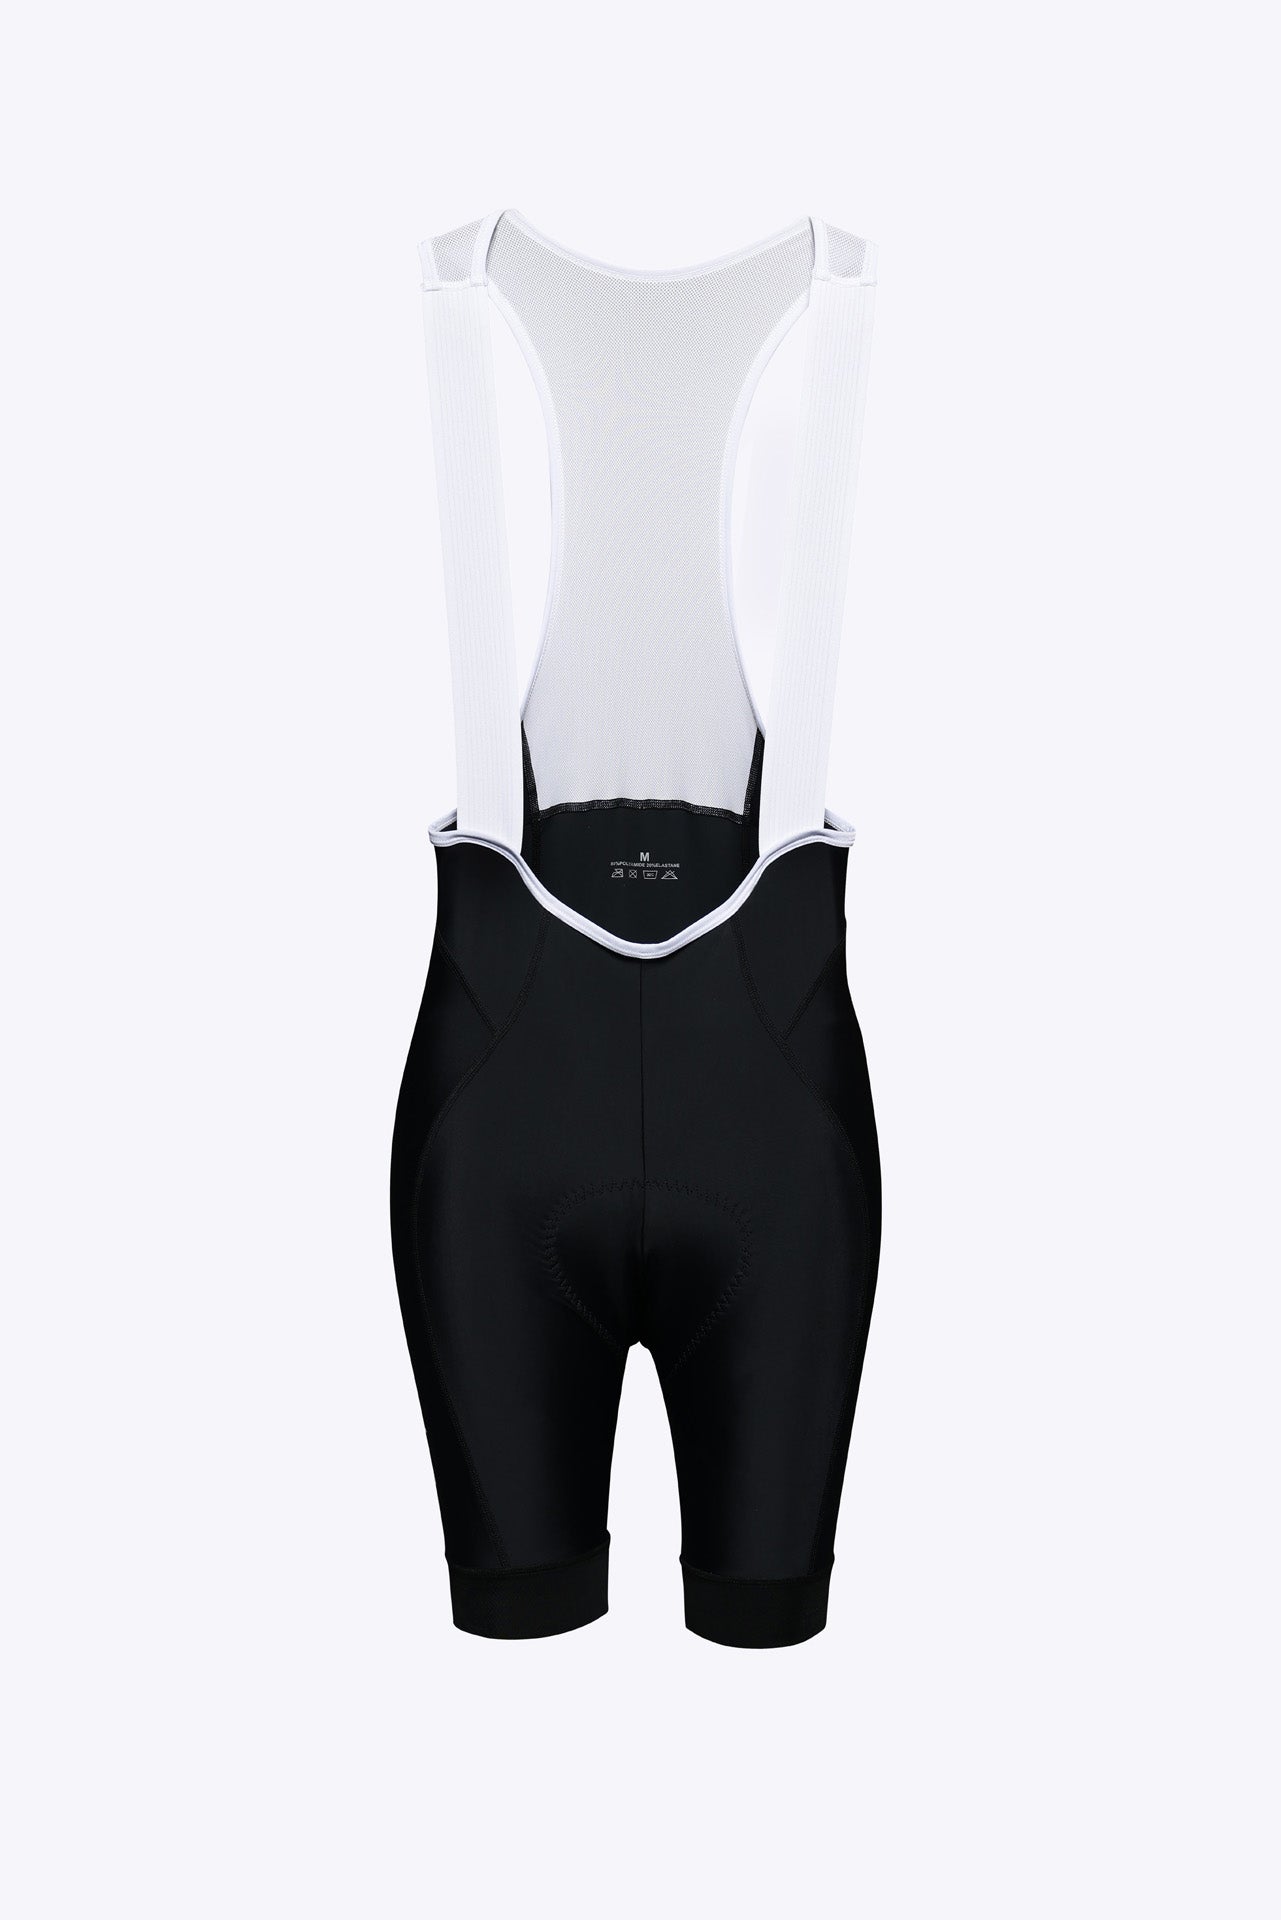
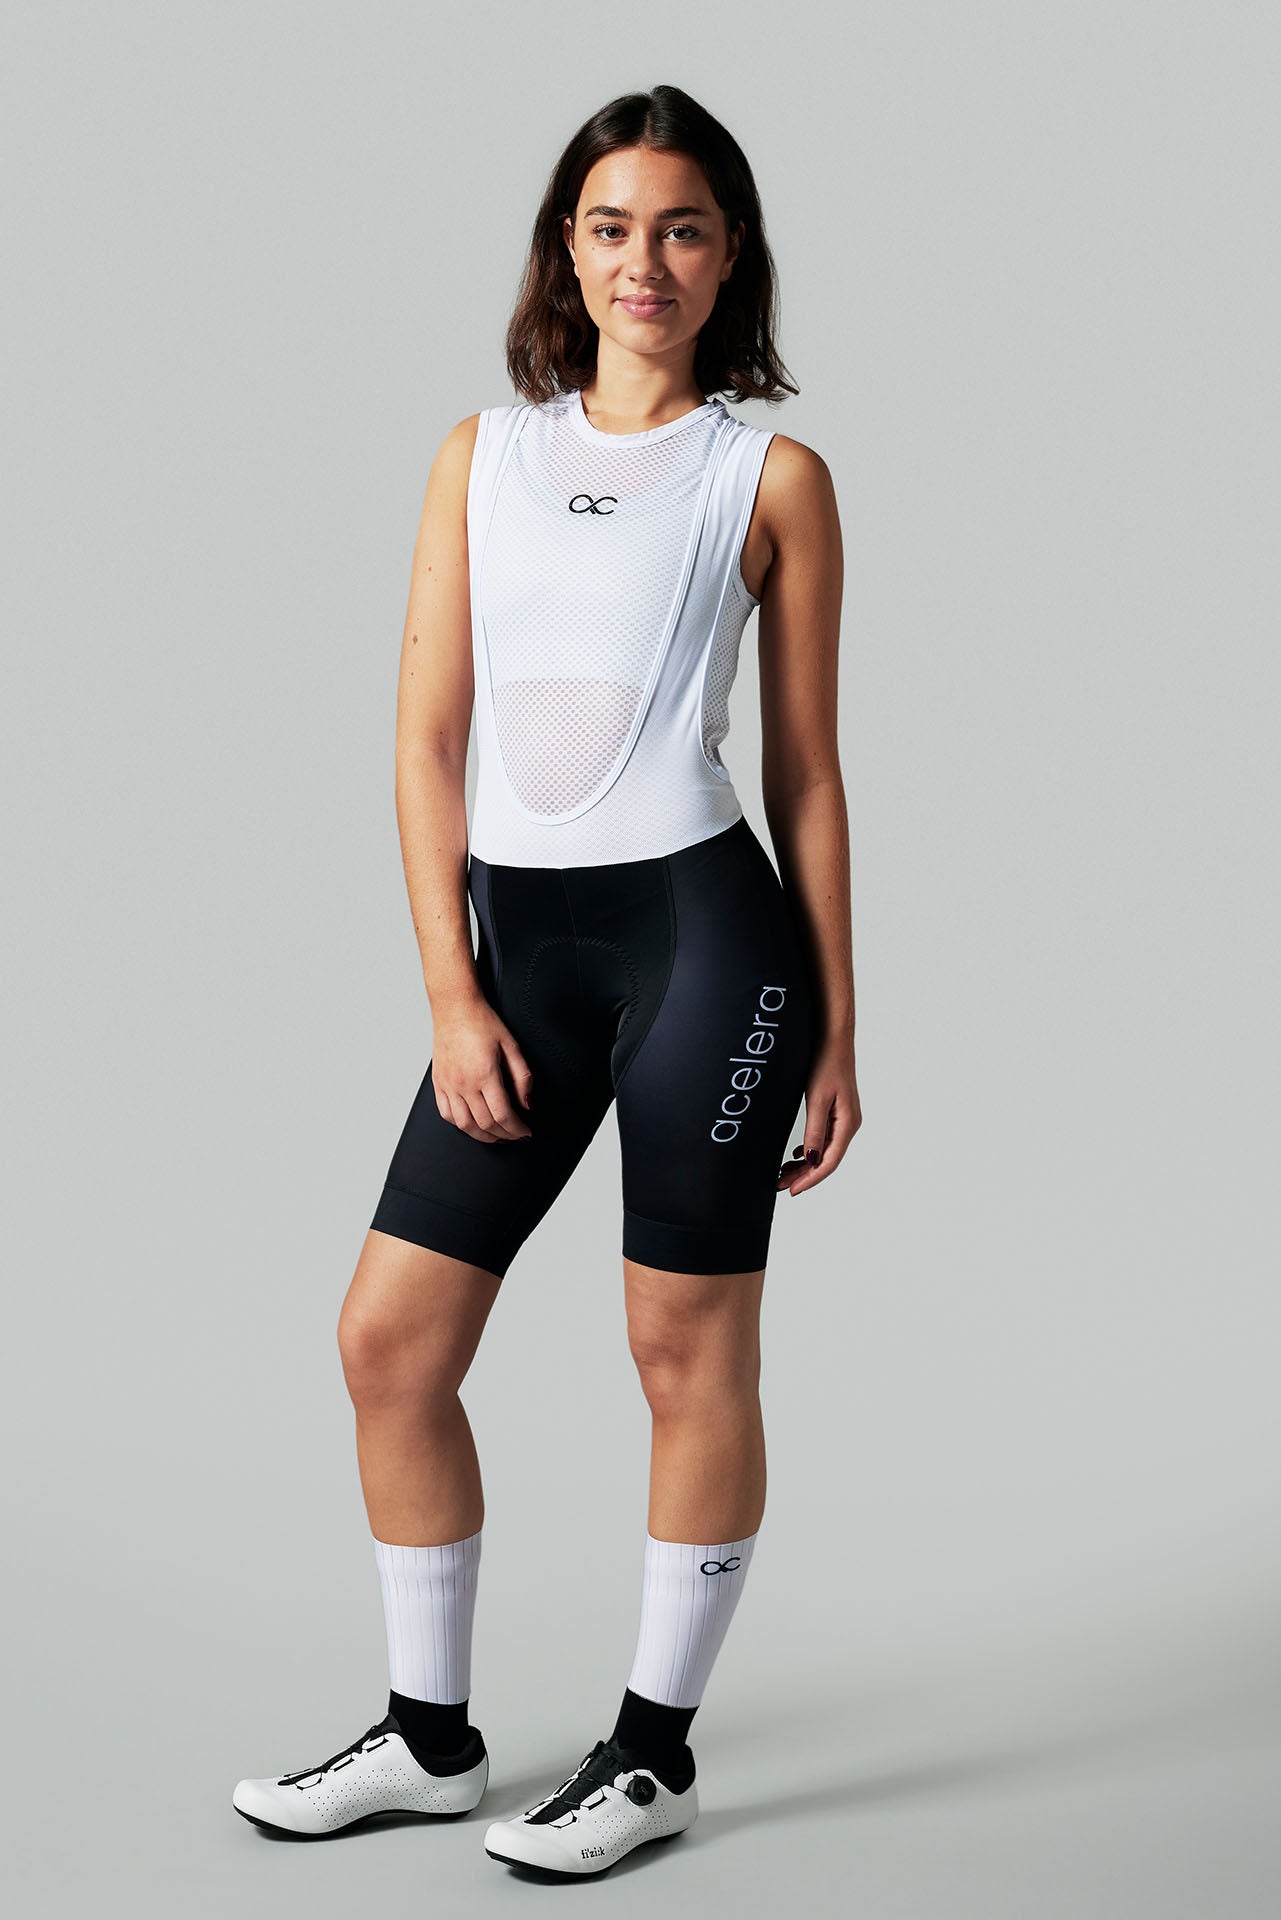
Plug your bike computer into the charger, plug in your derailleur batteries and check your gear for damage. For example, check your cleats, if they are worn you can shoot out of your pedal at the wrong times. Prevent these kinds of dangerous situations by replacing them in time. Worn cycling clothing can also lead to unpleasant situations. For example, it can cause blisters or saddle pain, prevent this by investing in good clothing or by replacing it in time!
Of course everyone has their own routines and tips to keep their bike in top condition, but with these five tips you are well on your way! Follow us on Instagram , Facebook , YouTube or sign up for the newsletter for more relevant cycling blogs and info!




Leave a comment
This site is protected by hCaptcha and the hCaptcha Privacy Policy and Terms of Service apply.